Stop wrestling with the rind. A chef-tested method for perfect watermelon slices, cubes, sticks, and bowls — with zero juice explosions and maximum yield from every melon.
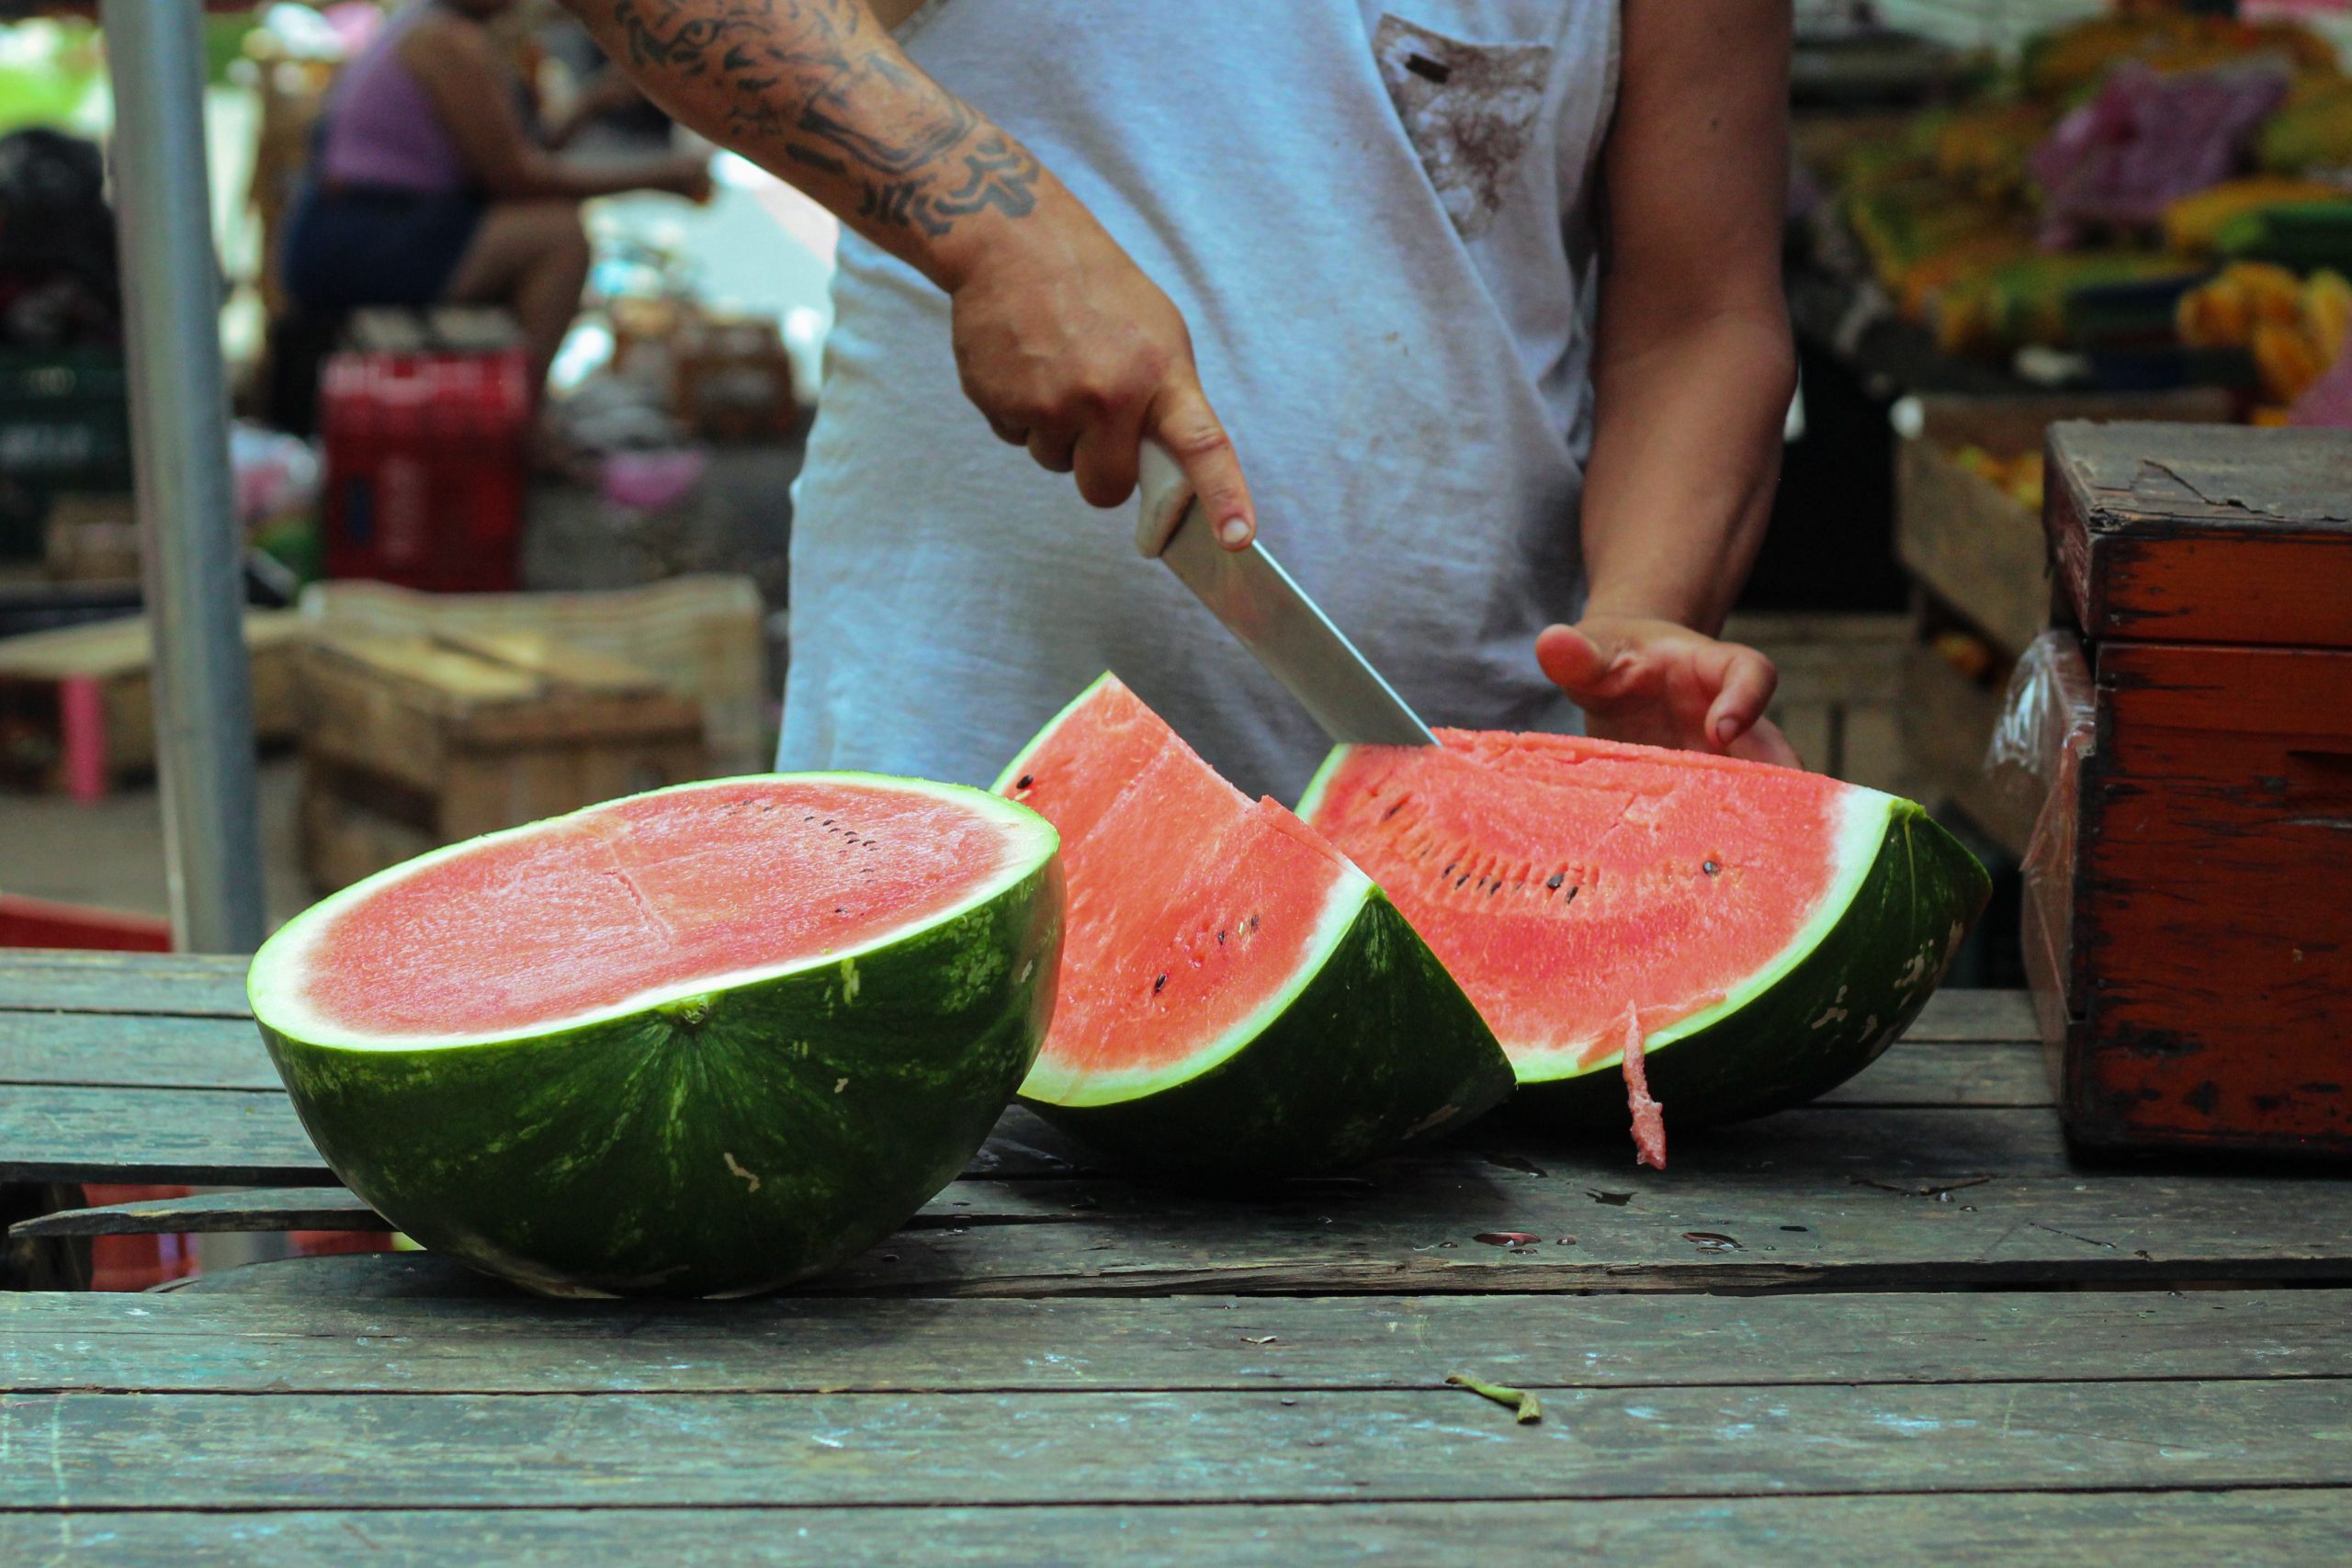
Cut a stable flat base first, then stand the melon upright and slice straight down through the poles. Work in cross-sectional slabs rather than trying to slice a whole sphere. This approach keeps the melon from rolling, produces uniform piece sizes, and takes under 10 minutes once you internalize the rhythm: base → halves → slabs → sticks/cubes. Use a sharp 8-inch chef’s knife — a dull blade is the #1 cause of crushed flesh and slipped grip injuries.
- Equipment That Actually Helps
- Step 1 — Stabilize the Melon
- Method 1 — Classic Half-Moon Slices
- Method 2 — Crisp Rectangular Sticks
- Method 3 — Clean Snack Cubes
- Method 4 — Kids’ Wedges with Rind Handle
- Method 5 — Edible Watermelon Bowl
- Common Mistakes & Food-Safety Warnings
- Storing Cut Watermelon Safely
- FAQ: Watermelon Cutting Questions
Equipment That Actually Helps
You do not need a specialty melon cutter, a spiralizer, or a “watermelon slicer” gadget that promises a perfect spiral. Professional kitchens cut hundreds of watermelons every summer with two tools: a sharp 8-inch chef’s knife and a large, stable cutting board.[1]
| Tool | Why It Works | Common Mistake |
|---|---|---|
| 8″ chef’s knife | Full-length blade lets you cut through the entire hemisphere in one clean vertical stroke; the weight does the work. | Using a short paring knife creates ragged, crushed edges and forces you to saw back and forth — that’s how flesh turns to mush. |
| Large cutting board | Gives you room to pivot the melon without it hitting the counter edge. | Small boards cause the melon to tip or roll off mid-cut. |
| Non-slip grip | A damp paper towel under the board stops the whole setup from skidding. | Skipping this when cutting a large melon on smooth countertops. |
| Metal bench scraper (optional) | Scoops cut cubes out of the rind shell and transfers them to a bowl without touching the flesh. | Using a spoon to gouge cubes damages the rind and splashes juice. |
Watermelon has two layers: a firm green rind and a fragile, high-water-content flesh. A dull blade wedges into the rind instead of slicing through it, which means you apply downward pressure while the melon shifts. That combination — force plus instability — is how knives slip toward your non-cutting hand. A freshly honed knife actually requires less force, giving you more control, not less.[2]
Step 1 — Stabilize the Melon Before You Make a Single Cut
The most common watermelon-cutting mistake is attacking a round, wobbly sphere while it sits on its side. Every knife stroke causes it to roll. Fix this in one motion: slice off a thin disc of rind on one side to create a flat, stable base.
Slice the melon across its “equator” (perpendicular to the stem axis) if you plan to make cubes or sticks. This produces elongated oval halves rather than squat domes, which gives you longer, more uniform fruit spears. Cut along the stem-to-blossom line (pole to pole) if you plan classic half-moon slices — this way each slice has a similar shape.
Method 1 — Classic Half-Moon Slices
This is the fastest method for feeding a crowd or loading up a fruit platter. Half-moons are forgiving, require no precision, and come from the least amount of knife work.
One standard 15–18 lb seedless watermelon yields about 40 half-moon slices at 1-inch thickness. For a picnic of 8–10 people, that’s more than enough. If you’re serving as a side fruit, plan on about 1½ pounds of whole melon per person.
Method 2 — Crisp Rectangular Sticks
Sticks are the ideal shape for yogurt dips, fruit skewers, or lunchboxes. The key is cutting watermelon into flat slabs first, then slicing the slabs into batons — never trying to slice individual sticks off of a curved hemisphere.
If you attempt to slice sticks while the flesh is still attached to the curved rind, the knife hits the rind at an angle and produces wedge-shaped pieces. Detaching the flesh into flat slabs creates perfectly square, equal-sized batons — the ones that look professional on a platter.
Method 3 — Clean Snack Cubes
Cubes are the workhorse cut for fruit salads, smoothies, and frozen snacks. The technique builds directly on the stick method: cubes are just sticks that are cut again in the opposite direction.
This “grid cut” technique is the reason your best fruit salads are summery and evenly textured: uniform cubes freeze, marinate, and release juice at the same rate. No more tiny mush shards at the bottom of the bowl.
Method 4 — Kids’ Wedges with Rind Handle
For small hands or barbecue finger food, keep the rind attached as a natural handle. Triangular wedges are the classic picnic cut — they’re easy to hold and the rind keeps fingers dry.
Chill these wedges for at least 30 minutes before serving. The cold sets the cell structure of the watermelon, so the flesh is snappier and far less drip-prone when kids bite into it.
Method 5 — Edible Watermelon Bowl
This showstopper is essentially the cube method with a shell. Perfect for parties where the melon doubles as the serving vessel — zero extra dishes, maximum visual wow.
A watermelon bowl is decorative, but it is not a waterproof thermos. Once the flesh is fully scooped out, the rind will slowly weep juice. Serve within 4 hours of filling it, and place it on a tray or in a shallow dish to catch any pooled liquid.[3]
Common Mistakes & Food-Safety Warnings
Watermelon flesh is more than 91% water by weight — the highest water content of almost any common fruit. That seemingly harmless fact drives several kitchen-safety and food-safety issues.[4]
Don’t cut toward your hand, ever. All cuts should travel away from the non-cutting hand or vertically downward through the flesh into the board. If you feel the knife begin to bind in the rind, stop and back out — never push harder.
Dull knives crush more than they bruise. A dull edge mangles the cell walls of watermelon flesh, causing flavorless watery patches. If you see a whitish, mealy texture around a cut, your knife is too dull for the job.
Don’t wash the melon? No — always wash it. The rind can carry pathogens like Salmonella that transfer to the flesh when your knife slices through the rind and into the fruit. Wash the exterior under cold running water, scrubbing with a clean produce brush.[5]
Never leave cut melon at room temperature on a hot day. Because it’s high in sugar and water, watermelon is a perfect growth medium for bacteria. The USDA recommends discarding cut melon left out for more than 2 hours at room temperature — but only 1 hour if the outdoor temp is above 90°F. Summer picnics often qualify.
Don’t freeze whole chunks of raw watermelon for snacking. Freezing ruptures the cell walls, turning flesh into watery mush when thawed. Freeze cubes on parchment-lined sheets instead, and blend them frozen for slushies or watermelon granita.
The “claw grip” is non-negotiable: curl the fingertips of your non-cutting hand toward your palm so your knuckles guide the blade’s side while your fingertips remain safely tucked away. The knife never rises above your knuckles. This single habit prevents over 80% of home-kitchen knife cuts.[6]
Storing Cut Watermelon Safely
Cut watermelon is at its peak for only 3–4 days in the refrigerator. After day four, the texture degrades noticeably even if spoilage bacteria haven’t reached harmful levels.[7]
Layer a sheet of paper towel in the bottom of the container, add the cubes, then lay another towel loosely over the top before sealing. The towels wick away the sugary water that accelerates spoilage. You’ll extend usable life by a full day or more and keep the cubes considerably crisper.
FAQ: Watermelon Cutting Questions
Should I cut watermelon, or pull it apart into sections?
Cutting with a knife is almost always better for consistent results. “Pulling apart” works only on naturally segmented melons like cantaloupes, whose flesh separates cleanly from the seed cavity. Watermelon flesh is fused to the rind, so any attempt to snap it off by hand leaves shredded bits of flesh stuck to the rind while the rest drips juice everywhere.
Is it safe to use a serrated knife on watermelon?
A serrated or bread knife does cut the rind, but it shreds the softer red flesh as it saws through, leaving a ragged texture. A sharp straight-edged chef’s knife produces a clean, smooth cut through both the rind and flesh. If you only have a serrated knife, use it only for scoring the decorative edge of a watermelon bowl.
Why is my pre-cut watermelon from the store often mealy?
Mealiness comes from over-ripening, cold damage, or being past peak condition before processing. The cells break down, releasing the water that was once trapped inside and giving the flesh that dry, gritty mouthfeel. Your best bet at the store is to buy a whole melon and cut it yourself at peak ripeness, which is why mastering the cut at home pays off in texture too.
How do I pick a watermelon that’s actually ripe?
Three checks: the ground spot (the pale yellow patch) should be creamy, not white or green; the melon should feel heavy for its size; and the surface should have a dull, not shiny, sheen. A sharp thump and a crisp feel are less reliable indicators than weight and the ground spot’s color. For seedless melons, look for well-developed sugar cracks around the stem — a sign the melon ripened on the vine.
Should I trim off all of the white rind, or is it okay to leave some?
For slices meant to be eaten rind-on, leaving ¼ inch of white rind below the red flesh is fine — many people enjoy the crisp contrast. But for cubes, sticks, and salads, trim all the way to the red flesh. The white rind becomes tough and bitter after a few hours in the fridge, releasing a cucumber-like flavor that can overpower a fruit salad. The green outer skin is always discarded unless you’re pickling watermelon rind, a Southern American delicacy in its own right.
Is it OK to cut watermelon in advance for a party?
Cut watermelon cubes up to 24 hours in advance if stored properly in the fridge. But slices and wedges are best cut the morning of your event — the cut edge dries out and the flesh loses its snap more quickly when the cut surface is large. Half-moons and wedges should never be cut more than 6 hours before serving.
- Always flatten one side of the watermelon first. A stable base is the single most important step for safe, efficient cutting.
- Use a sharp 8-inch chef’s knife. Dull blades crush the fragile flesh and force dangerously high pressure.
- Master the slab method — flat flesh sheets create perfect sticks and cubes with none of the curved-rind complications.
- Wash the rind before cutting even if you don’t eat it. Your knife carries surface contaminants into the flesh.
- Respect the 2-hour / 1-hour room-temperature rule for cut melon, especially at summer events.
- Institute of Culinary Education. “Knife Skills: Chef’s Knife Fundamentals.” ICE Culinary Management. Accessed September 2026.
- Weill Cornell Medicine, Department of Surgery. “Kitchen Knife Safety: Preventing Home Cuts.” NewYork-Presbyterian. Accessed September 2026.
- United States Department of Agriculture. “Cut Melon and Food Safety: Refrigerate Within Two Hours.” Food Safety and Inspection Service. Accessed September 2026.
- USDA FoodData Central. “Watermelon, raw (per 100 g): moisture and nutrient composition.” FoodData Central Entry ID 167765. Accessed September 2026.
- U.S. Food and Drug Administration. “Outbreak Investigation of Salmonella: Melons.” FDA Recalls & Outbreaks Advisories. Updated 2026.
- American College of Surgeons, STOP THE BLEED Program. “Kitchen injuries: prevalence of hand lacerations and prevention technique.” Data brief. Accessed September 2026.
- UC Davis Postharvest Technology Center. “Watermelon: Recommendations for Maintaining Postharvest Quality.” Department of Plant Sciences. Accessed September 2026.