A small kitchen is not a design failure. It is a puzzle with a fixed number of pieces, and the solution is almost never more storage — it is smarter storage. Most cramped kitchens are not short on space so much as they are crowded with duplicates, unused appliances, and items parked in the wrong zone. Fix those three problems and even a galley kitchen or a tiny apartment corner can feel calm and functional.
This guide walks through the process in the order that produces the fastest results: empty it out, sort it honestly, assign zones, then build storage upward and inward. Along the way you will find measurements worth knowing, cheap fixes that outperform expensive ones, and habits that keep the whole system from collapsing after a month.
Start With a Full Empty-Out, Not a Tidy-Up
Rearranging a full cabinet is like reorganizing a closet without removing anything: you simply move the clutter around. Take everything out of the cabinets, drawers, and countertops and pile it on a table or the floor. Yes, it looks worse before it looks better. That temporary chaos is what lets you see how much you actually own.
As you empty each space, wipe the shelves and check for the usual small-kitchen culprits: crumbs in the cutlery tray, sticky rings under oil bottles, and expired spices at the back of the cabinet. Cleaning as you go means you only handle each shelf once.
Sort With Three Boxes and a Hard Rule
Use three containers: Keep, Relocate, and Let Go. The Relocate box matters most in a small kitchen, because some items genuinely belong in a dining area, a pantry, or a storage closet rather than on prime cooking real estate.
Apply a one-year rule to food and a two-year rule to equipment. If you have not used a gadget in two years, you probably will not. Be especially ruthless with these common space thieves:
- Duplicate tools — three spatulas, two vegetable peelers, four wooden spoons
- Single-purpose appliances that overlap with something you already own
- Mismatched plastic containers without lids, and lids without containers
- Expired spices, ancient baking powder, and half-used condiments
- Restaurant takeout containers you are saving “just in case”
- Novelty mugs and glasses that never get used
Be honest about the appliances you keep on the counter. A stand mixer that appears twice a year does not deserve permanent counter space; a kettle used daily does.
Build Zones Around What You Do, Not What You Own
Professional kitchens are organized by station, and the same logic scales down beautifully. Group items by the task they serve, then store each group where that task happens.
| Zone | What Lives There | Best Location |
|---|---|---|
| Prep | Knives, cutting boards, mixing bowls, peelers | Drawer and counter nearest the main work surface |
| Cooking | Pots, pans, oils, spatulas, wooden spoons | Beside or below the stove |
| Baking | Flour, sugar, measuring cups, baking sheets | One shelf or bin, ideally away from the stove’s heat |
| Cleaning | Dish soap, sponges, brushes, bin bags | Under the sink |
| Everyday dining | Plates, bowls, glasses, cutlery | Nearest the table or dishwasher |
Once zones are set, the rule is simple: an item’s home is the zone where it is used. Coffee gear near the kettle, not across the room. This single change eliminates most of the walking and reaching that makes small kitchens feel exhausting.
Use Vertical Space Before You Buy Anything
In a small kitchen, the walls and the insides of doors are wasted real estate. Before purchasing a single organizer, look up and look at the backs of cabinet doors.
Walls and backsplash
- A magnetic strip or wall-mounted rail holds knives, utensils, and small pans within arm’s reach.
- Open shelves or a pegboard above the counter replace upper cabinets that may not exist.
- Hooks under the upper cabinets hold mugs and measuring cups, freeing shelf space.
Cabinet doors and interiors
- Adhesive or screw-in racks on the inside of cabinet doors hold foil, wrap, and cutting boards.
- Stackable risers double the usable height of a shelf by creating a second tier.
- Lazy Susans turn deep corner cabinets from a black hole into usable round storage.
Measure before you buy. Standard upper cabinets are roughly 30–36 cm deep, base cabinets around 60 cm, and drawer heights vary widely. A bin that is 2 cm too tall is a bin you will resent.
Make Drawers Work Harder
Drawers are the most efficient storage in any kitchen because you can see and reach everything at once — but only if they are divided. A single deep drawer filled with loose utensils becomes a jumble within days.
- Use adjustable dividers or expandable trays to create compartments sized to your tools.
- Store knives in a dedicated in-drawer block rather than loose in a pile.
- Keep like with like: all baking utensils together, all serving spoons together.
- Lay items flat and front-to-back rather than piled, so nothing hides behind anything else.
If you have one deep drawer and no dividers, a set of inexpensive interlocking bins will outperform a custom insert costing ten times as much.
Choose Containers That Match Your Space
Matching containers look tidy, but the practical benefit is that square and rectangular shapes waste less space than round ones. Decanting staples into clear, stackable jars also lets you see what you have, which prevents buying a third bag of rice you do not need.
Keep the system small enough to maintain. A dozen containers that fit your shelves beat thirty that do not. Label them if you cook with similar-looking powders, and keep a pen nearby for dates on leftovers.
Protect the Countertop
Counter space is the scarcest resource in a small kitchen, so treat every object on it as a tenant that must earn its place. Appliances used daily can stay. Everything else goes into a cabinet, even if that means rearranging to make room.
Keep one clear landing area for chopping and plating. If your kitchen has almost no counter, a sturdy over-sink cutting board or a rolling cart that tucks away when not in use can create workspace on demand.
Habits That Keep a Small Kitchen Organized
An organized kitchen is a set of repeated behaviors, not a one-time project. These five habits do most of the work:
- Reset nightly. Ten minutes of putting things back in their zones prevents a week of buildup.
- Clean as you cook. Wash or load tools while water boils; the sink stays clear.
- Shop with the space you have. Buy only what fits your shelves and your next two weeks.
- Do a monthly five-minute audit. Pull anything that has drifted out of its zone.
- One in, one out. A new mug or pan means an old one leaves.
Small kitchens reward discipline more than they reward spending. Empty the space, sort honestly, group by task, and build upward. Do that, and the room stops feeling like a compromise and starts feeling like a kitchen that works.
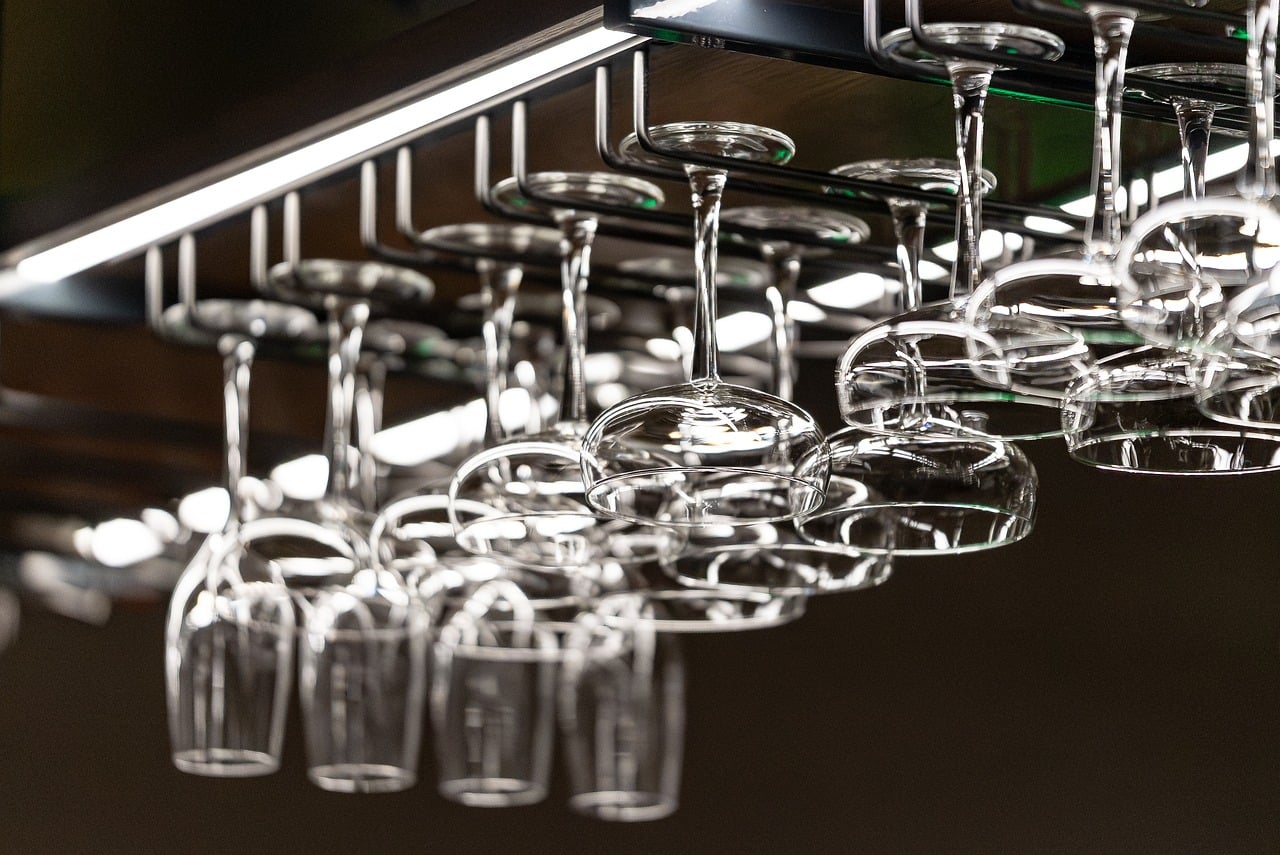
Illustrative stock photo: jrydertr / Pixabay.