Most 30-minute meals fail for one reason: the clock runs on the wrong schedule. Here’s how professional cooks compress prep, heat, and finishing into a real half hour — with temperatures, ratios, and a 25-minute template you can cook tonight.
A genuine 30-minute meal is built on parallel heat, not speed. Start the water and preheat the pan before you touch a knife, keep protein portions at 5–6 oz (140–170 g) and no thicker than 1 inch, and use one pan for searing plus one pot for the starch. Finish every dish with acid, fat, and something crunchy. Poultry must reach 165°F (74°C) and ground meat 160°F (71°C) — no exceptions for the sake of the timer.[1]
- The 30-Minute Kitchen Checklist
- The Four-Phase Timing Method
- Heat Management: Where Fast Cooking Actually Goes Wrong
- The Finishing Move: Acid, Fat, Crunch
- Temperature & Timing Reference Table
- Common Mistakes and Their Fixes
- A 25-Minute Template You Can Cook Tonight
- Equipment That Actually Saves Minutes
- FAQ
The 30-Minute Kitchen Checklist
Speed is a supply-chain problem before it’s a skill problem. The cooks who reliably produce dinner in half an hour aren’t faster with a knife — they simply never stop mid-cook to run to the store. Stock these four zones and a 30-minute meal becomes the default outcome rather than a project.
The Four-Phase Timing Method
The mistake almost every home cook makes is treating 30 minutes as one continuous block of cooking. Professionals treat it as four phases with different jobs, and they overlap them deliberately. Phase one happens before any ingredient is cut; by minute five, two heat sources are already running.
“A 30-minute meal isn’t fast cooking. It’s cooking where the waiting happens while you’re doing something else.”
— The core principle behind parallel prep in professional line kitchens
Heat Management: Where Fast Cooking Actually Goes Wrong
Almost every disappointing 30-minute dinner traces back to one of three thermal errors, and none of them are about seasoning. Here’s the diagnostic version.
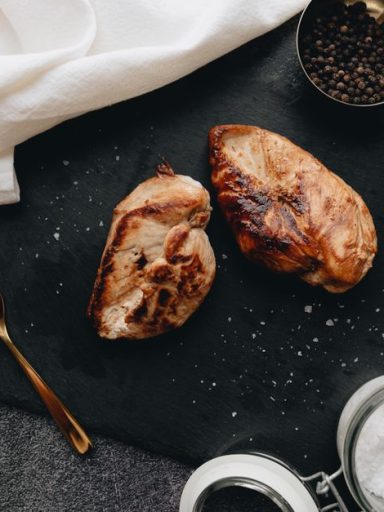
1. A cold pan. Placing protein in a skillet that hasn’t fully preheated means the surface never exceeds 300°F (149°C) during the sear window. Wait 3–4 minutes over medium-high; test by flicking in a drop of water — it should bead, skate, and evaporate in about 2 seconds, which indicates a surface near 380°F (193°C).
2. A crowded pan. Two pounds of chicken in a 12-inch skillet drops the pan temperature by more than 60°F (15°C) and traps steam. The meat grays instead of browning, releasing water that then boils the food. Cook in two batches if you must, resting the first batch on a plate tented with foil.
3. A wet vegetable. Broccoli and mushrooms straight from a rinse will steam for the first four minutes. Dry them on a towel while the protein sears — that’s free time you already budgeted.
Browning is the Maillard reaction, a cascade between amino acids and reducing sugars that accelerates sharply above 300°F (149°C) and generates hundreds of new aroma compounds. Water caps the pan’s surface temperature at 212°F (100°C) until it fully evaporates — so every gram of surface moisture is a gram of flavor chemistry you don’t get.[4]
The Finishing Move: Acid, Fat, Crunch
Fast cooking concentrates salt and browning, which is why hurried dinners so often taste flat or heavy even when the technique was fine. Three additions at the very end fix this in under 60 seconds, and they’re the difference between a meal that reads “rushed” and one that reads “intentional.”
Acid (1–2 tbsp per 4 servings). Lemon juice, lime, rice vinegar, or a splash of hot sauce. Fat coats the tongue and blunts sour and salty perception; acid cuts through that coating and resets it, which is why a squeeze of lemon makes a rich pan sauce taste suddenly brighter.
Fat (1 tbsp best-quality oil). A drizzle of finishing olive oil or a knob of cold butter swirled in off the heat adds aroma without the acrid notes that high-heat cooking drives off.
Crunch (2–3 tbsp). Toasted nuts, sesame seeds, panko, fried shallots, or torn herbs added at the plate. Freshness and texture are the two things a fast cook cannot build into a dish — so they get added on top.
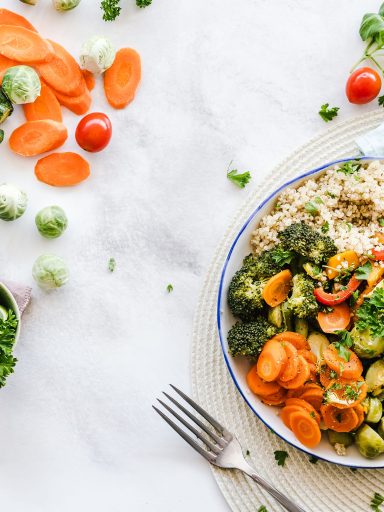
A practical plate formula for the “healthy” half of quick and healthy diets: one palm-sized portion of protein (aim for 25–30 g), half the plate as vegetables, one fist-sized portion of starch, and 1–2 tbsp of fat. That structure keeps sodium manageable too — the FDA’s daily guidance is under 2,300 mg, and cooking from raw ingredients with a finishing acid instead of a bottled sauce is one of the easiest ways to stay under it.[2]
Temperature & Timing Reference Table
Print this, tape it inside a cabinet door, and stop guessing. Chef-doneness temperatures and USDA safe-minimum temperatures are both listed where they differ — the safe minimum always wins for ground meat and poultry.[1]
| Protein / Component | Pan Time (1″ thick) | Pull at | Rest | Note |
|---|---|---|---|---|
| Chicken breast (thin-cut) | 4 min + 3 min | 160°F (71°C) | 5 min | Carryover reaches 165°F (74°C) safe minimum |
| Chicken thigh (boneless) | 5 min + 5 min | 175°F (79°C) | 5 min | Thighs improve above 165°F; collagen softens |
| Ground beef / turkey | 6–8 min, breaking up | 160°F (71°C) | None | Never pull early — ground meat carries surface bacteria throughout |
| Pork chop / tenderloin | 4 min + 3 min | 145°F (63°C) | 3 min | USDA minimum with rest time included |
| Salmon fillet | 4 min + 2 min | 125°F (52°C) chef / 145°F (63°C) USDA | 2 min | Choose your standard and hold it consistently |
| Shrimp (large, 21–25 ct) | 2 min per side | Opaque and firm | 0 | Roughly 120°F (49°C); overcooking begins immediately after |
| Firm tofu (pressed) | 4 min per side | Golden brown edges | 0 | Press 15 min ahead or buy pre-pressed |
| Pasta (dried linguine) | 7–8 min | Al dente | 0 | Finish 60–90 sec in sauce with reserved water |
| Couscous (fine) | 5 min off heat | — | 5 min covered | 1 : 1.5 ratio by volume, boiling water poured over |
| Leftovers, reheated | — | 165°F (74°C) | 0 | Applies to any previously cooked food[1] |
Bacteria multiply fastest between 40°F and 140°F (4°C–60°C). Cooked food should not sit in that range for more than two cumulative hours — one hour if the room is above 90°F (32°C). For a 30-minute meal this rarely bites you, but it matters if you’re cooking ahead and holding dinner for a late arrival.[1]
Common Mistakes and Their Fixes
These are the failure modes that show up again and again in home kitchens attempting fast dinners — and each has a one-line correction.
A 25-Minute Template You Can Cook Tonight
This is the four-phase method applied end to end. Swap the protein for shrimp, tofu, or pork tenderloin and the timing barely changes — the structure is what travels.
Ingredients: 1½ lb (680 g) boneless skinless chicken thighs · 1 lb (450 g) broccoli, cut into 1½-inch florets · 1 cup (170 g) fine couscous · 1 cup (240 ml) boiling water · 3 tbsp olive oil, divided · 1 tsp kosher salt · 1 tsp chili flakes · 2 cloves garlic, grated · 3 tbsp lemon juice (about 1 lemon) · 1 tsp honey · 2 tbsp toasted sliced almonds
Equipment That Actually Saves Minutes
Two pieces of equipment carry most of the load, and the choice between them is really a choice about what kind of dinner you cook most often.
Best for: searing protein plus building a pan sauce in one vessel. Carbon steel or stainless steel, not nonstick — you need the fond. Requires 3 minutes of preheat and full attention while the protein is in the pan.
Weakness: One cooking surface only. Vegetables either share the pan or wait.
Best for: unattended cooking. Everything onto one pan at 450°F (232°C), 15–20 minutes, no flipping required if the pieces are cut to 1 inch. This is the true hands-off 30-minute meal.
Weakness: No pan sauce. You finish with acid and fat added after roasting instead.
If you cook for two and want a sauce, take the skillet. If you cook for four or more, or you want to use the 20 minutes of oven time to clean the kitchen, take the sheet pan — and roast at 450°F (232°C) with the pan preheating inside for 5 minutes so the vegetables hit a hot surface. Your third tool should be an instant-read thermometer. Everything else is optional.
FAQ
Can you really cook healthy meals in 30 minutes after work?
Yes, with two conditions: your pantry is stocked (see the checklist above) and your protein is thin. The 30-minute ceiling isn’t about culinary skill — it’s about heat transfer rates. A 1-inch piece of chicken or fish cooks through in 7–8 minutes of active pan time; a 2-inch piece needs 20+. Buy thin cuts, portion them small, or butterfly them yourself with a horizontal slice down the middle.
What’s the single biggest time-waster in a 30-minute cook?
Waiting on water. Bringing 3 quarts (2.8 L) of water to a rolling boil takes 7–9 minutes on a typical gas burner with the lid on. Starting it first — before cutting anything — converts that dead time into prep time. An electric kettle that dispenses boiling water directly into the pot cuts the remaining stovetop time to about 3 minutes. The second-biggest waster is indecision, which is why writing a four-line timeline before you start consistently saves more than any gadget.
Are 30-minute meals actually healthy, or just fast?
Fast and healthy are independent variables, and convenience food proves it. What makes a quick meal healthy is composition: cook from raw or minimally processed ingredients, use a finishing acid instead of a bottled sauce to manage sodium, and hit the plate formula — a palm of protein, half a plate of vegetables, a fist of starch, 1–2 tbsp fat. The FDA’s daily sodium benchmark is under 2,300 mg, and a homemade pan sauce built from lemon juice, stock, and pan fond typically lands at a fraction of what a jarred equivalent delivers.[2]
How do I stop chicken drying out when I cook it fast?
Two moves. First, buy thighs or thin-cut breasts — thighs have more intramuscular fat and stay juicy well past 165°F (74°C), and thin-cut breasts go from raw to done in 7 minutes. Second, use a thermometer and pull the meat at 160°F (71°C), then rest it 5 minutes. The internal temperature continues to rise several degrees off the heat, landing at or above the USDA safe minimum of 165°F (74°C) without the extra minutes of pan time that push it past juicy.[1]
What can I prep on Sunday for faster weeknight 30-minute meals?
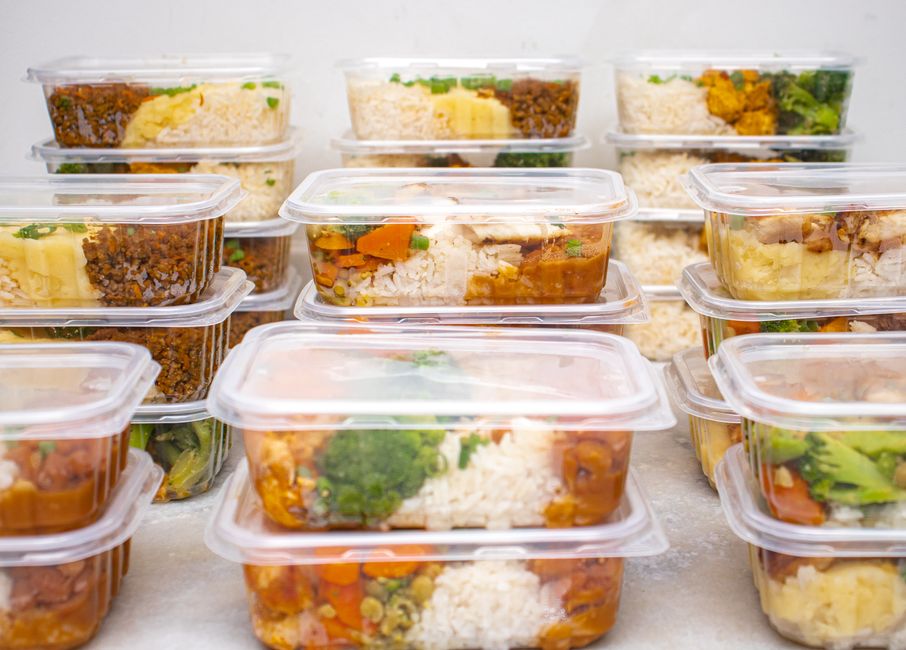
Prep components, never finished meals — assembled leftovers go soggy in three days. Wash and dry hardy vegetables (broccoli, peppers, carrots keep 4–5 days cut and dry). Grate ginger and garlic into a small jar with oil (1 week). Portion proteins into 5–6 oz (140–170 g) bags and freeze flat so they thaw in 20 minutes in cool water. Cook grains. Toast nuts and seeds. With those five done, most weeknight dinners collapse to one pan and one pot.
Do I need an air fryer or pressure cooker to hit 30 minutes?
No. Both are useful, but neither is load-bearing. An air fryer is a small convection oven — excellent for vegetables and proteins for two people, and it preheats in 2 minutes instead of 10. A pressure cooker is transformative for dried beans, tough braises, and rice, things that don’t otherwise fit in a 30-minute structure. If your fast meals are built around sautéed protein and vegetables, a 12-inch skillet and a sheet pan will outperform both.
What’s the best way to make a pan sauce in under two minutes?
After removing the protein, pour ¼ cup (60 ml) of water, stock, or wine into the still-hot pan and scrape the fond loose with a wooden spoon — about 45 seconds. Whisk in 1 tbsp cold butter or a teaspoon of cornstarch slurry to give it body, then kill the heat and stir in 1–2 tbsp lemon juice or vinegar. Salt last. Total: under two minutes, one pan, and far more flavor depth than the cooking time suggests.
- Start the water and preheat the skillet before you cut anything — parallel heat, not speed, is what makes 30-minute meals work.
- Keep protein portions at 5–6 oz (140–170 g) and no thicker than 1 inch, and never crowd more than 1 lb in a 12-inch skillet.
- Dry protein thoroughly before searing; surface moisture delays browning by 4–5 minutes and costs you flavor.
- Hit 165°F (74°C) for poultry, 160°F (71°C) for ground meat, 145°F (63°C) for whole pork, and reheat leftovers to 165°F (74°C).[1]
- Finish every dish with acid, fat, and crunch — it takes 60 seconds and separates a rushed dinner from a deliberate one.
- Prep components on the weekend, not assembled meals; cooked grains, dry-cut vegetables, and grated aromatics are the highest-leverage items.
- U.S. Department of Agriculture, Food Safety and Inspection Service. Safe Minimum Internal Temperature Chart and Danger Zone (40°F–140°F) guidance.
- U.S. Food and Drug Administration. Sodium in Your Diet — daily value guidance for adults.
- U.S. Department of Agriculture and U.S. Department of Health and Human Services. Dietary Guidelines for Americans — recommendations on vegetables, whole grains, and protein variety.
- McGee, Harold. On Food and Cooking: The Science and Lore of the Kitchen. Scribner — browning reactions, water evaporation energy costs, and starch gelatinization.
Nutritional and food-safety guidance in this article reflects published U.S. federal standards at the time of writing. Individual dietary needs vary — consult a registered dietitian or physician before making significant changes to your diet, particularly if you are pregnant, immunocompromised, or managing a chronic condition. Always verify internal temperatures with a calibrated instant-read thermometer.